The Louisiana Mirliton Two-Step
Because of increased extreme weather events like Heat Domes and frequent hurricanes, we need to think entirely differently about when and how to grow mirlitons. We have two chances at a mirliton crop: Spring and Fall. We need to especially take advantage of our cool months, October through May.
Step One
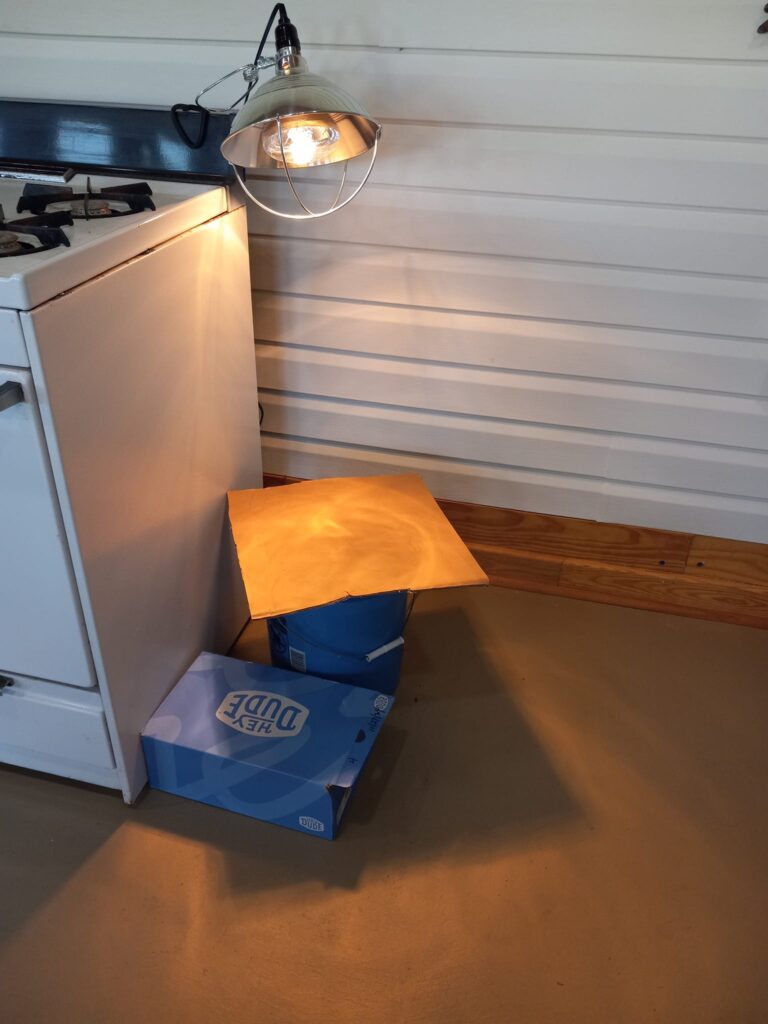
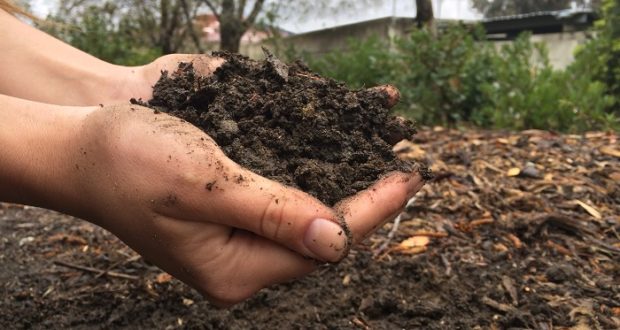
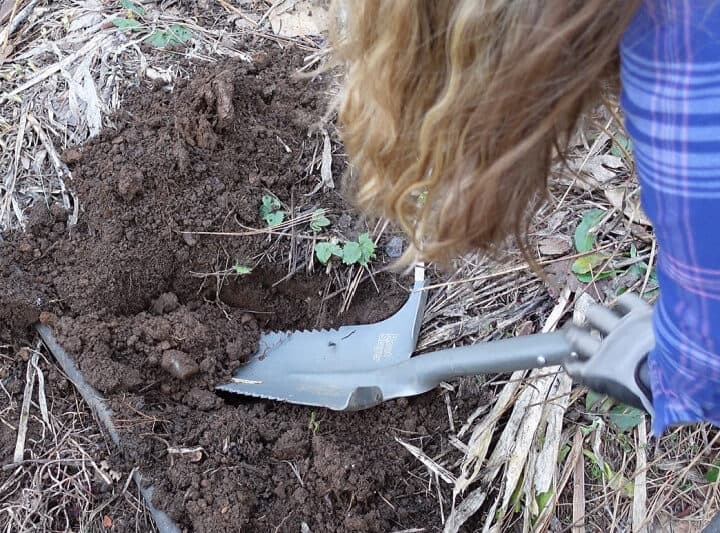
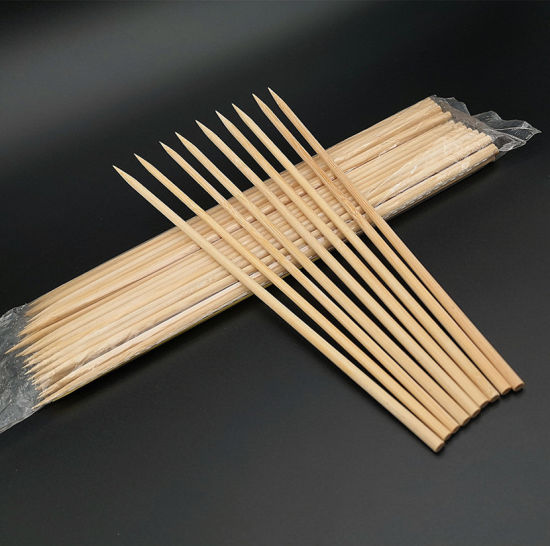
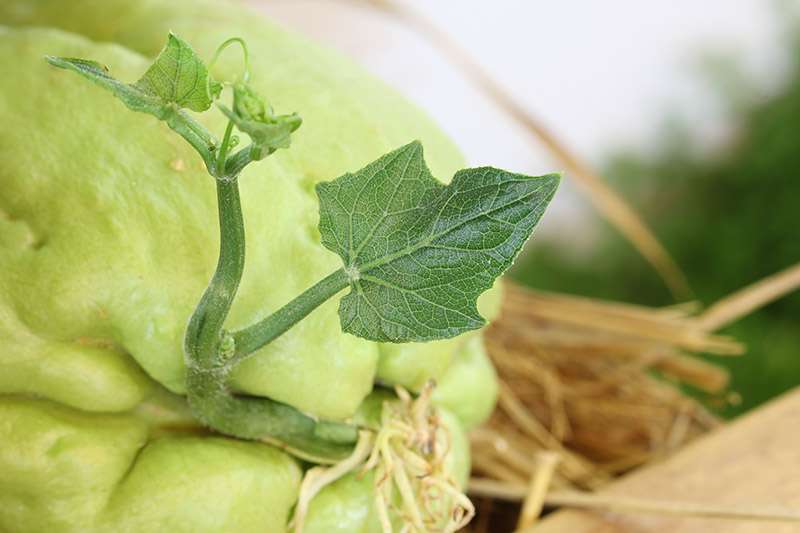
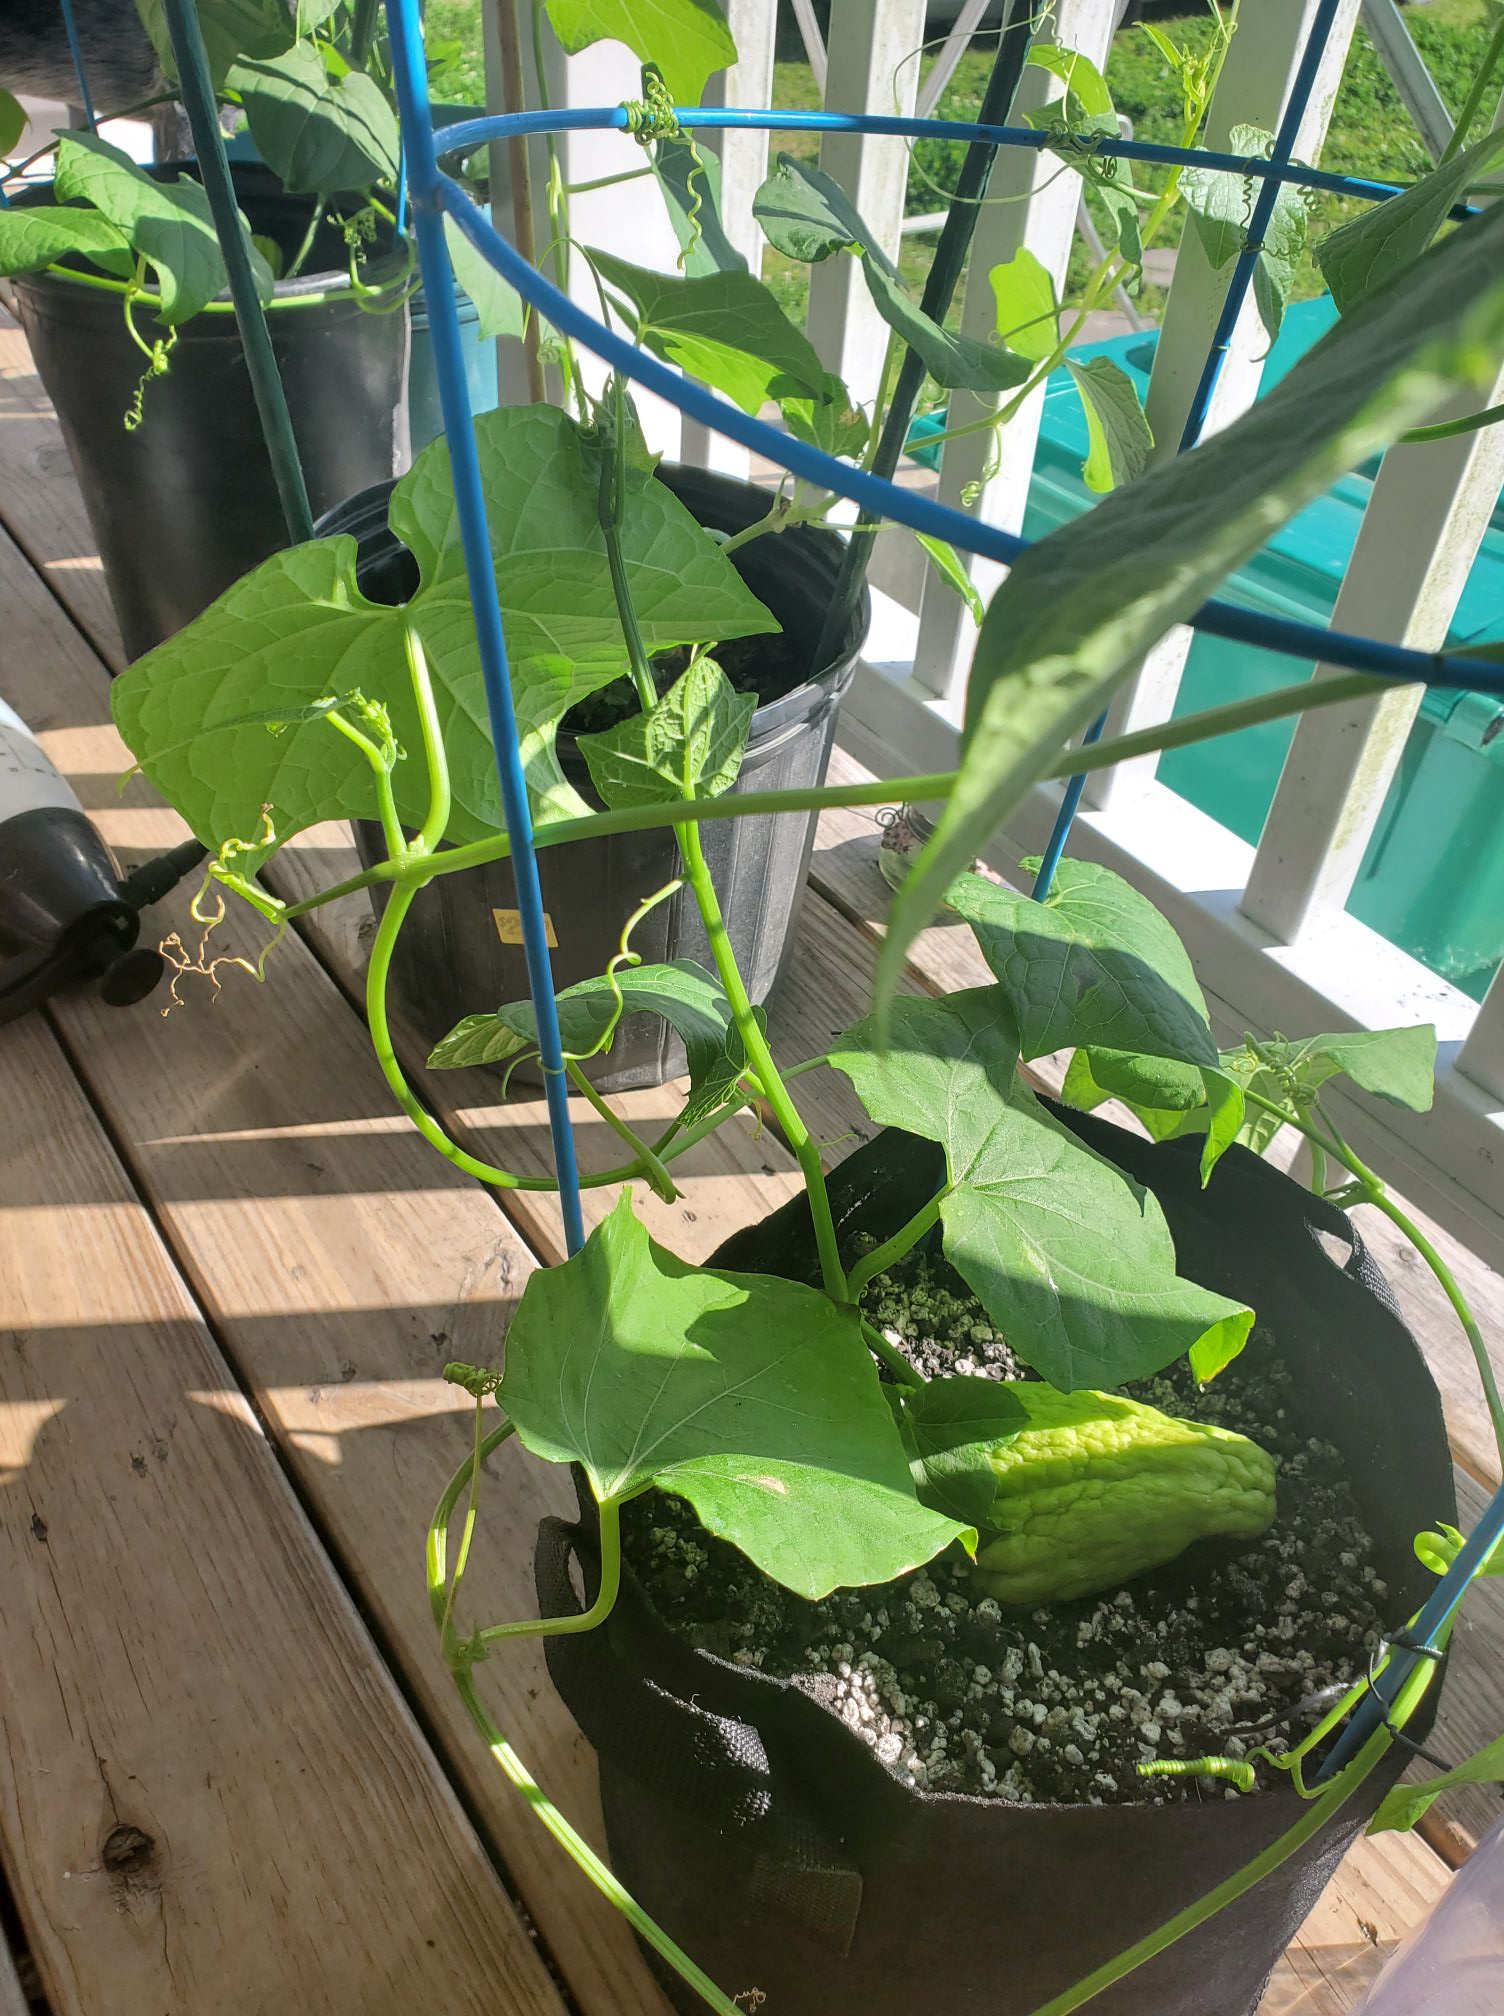
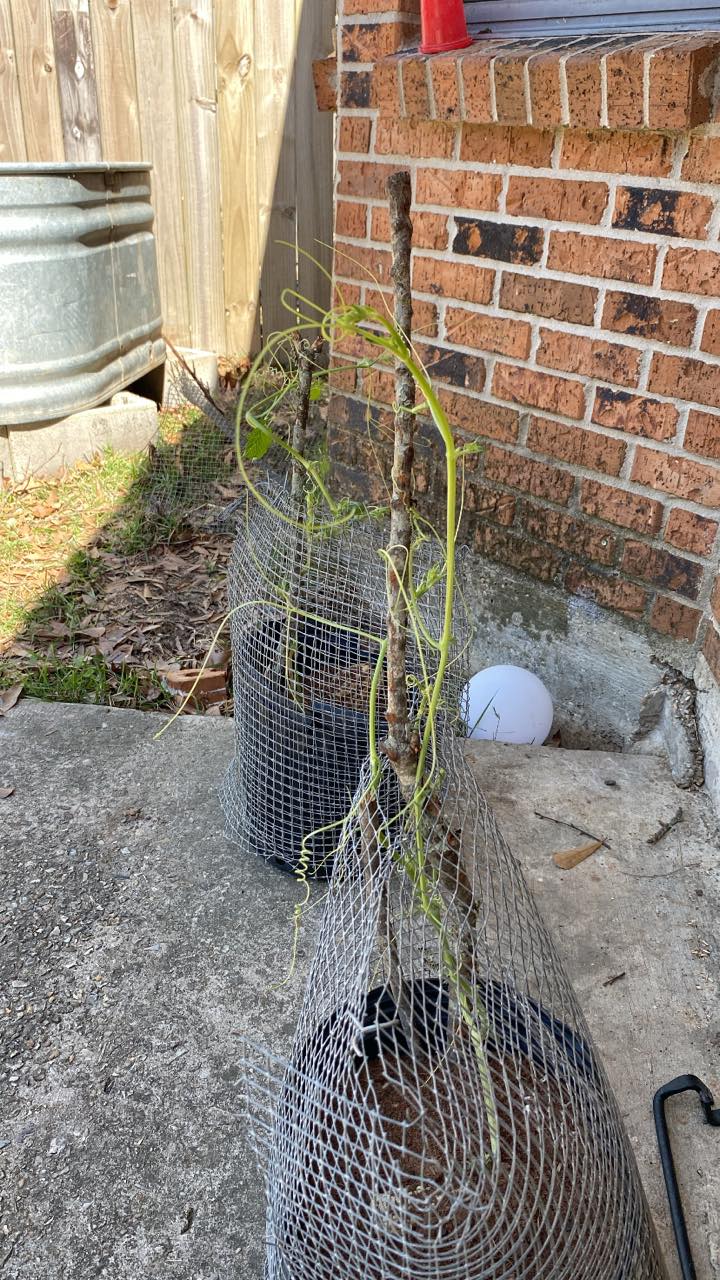
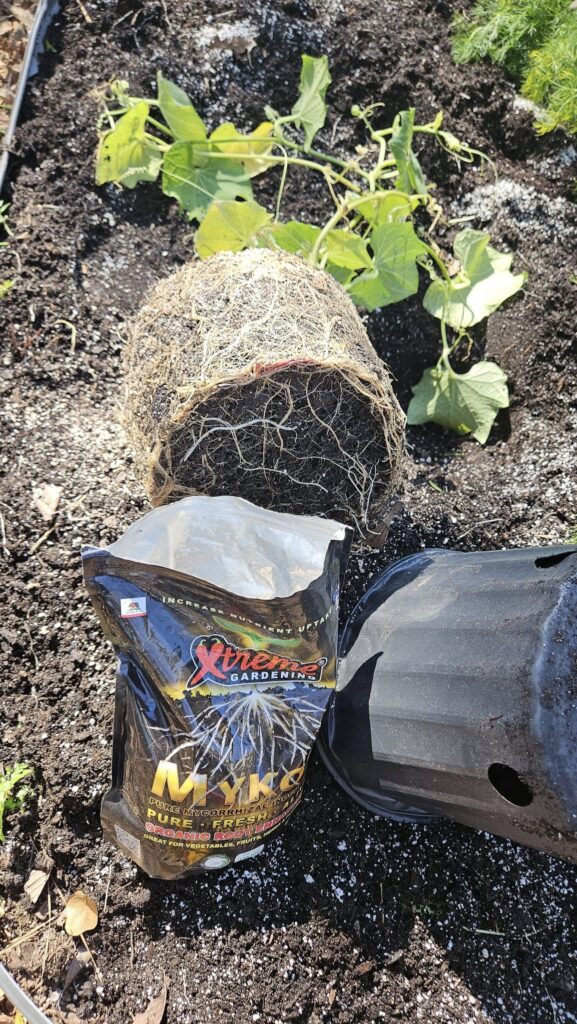
Plant your mirliton seed or container plant in the fall and build a trellis for the vine to grow on all winter. When necessary, temporarily cover it with 4-mil plastic and warm it with a portable heater to protect it on frost/freeze days. By the following spring, the vine will have a large canopy to support flowering–and you will get a spring crop.
Step Two
To help your vine get through the summer, use the same trellis to support a 30% shade cloth to shade the vine from June through August, if necessary. That will give you a a good chance at another crop in the Fall