I realize that this sounds like a strange idea, but experienced container plant experts have been using wooden skewers and chopsticks to gauge soil moisture for years. The principle is simple; moist particles of soil adhere to the wood. A clean skewer means the soil is too dry, a muddy skewer means too much moisture, and a stake flecked with large soil particles means the moisture is fine. The same principles apply to using a large bamboo stake in your raised bed or garden.
The two methods gardeners often use are the second-knuckle method and the electric meter method. In the knuckle method, you insert your finger down to the second knuckle and feel if you feel moisture at the tip. That gives you a good reading of the soil moisture in the first two inches, but the mirliton root zone is much deeper than that. You need a reading of soil moisture from 1-6 inches, and a finger can’t do that.
The other popular method is a sleek moisture meter. But there are several problems. The probe does not tell you what is happening at all levels. It rounds it off to one reading. Plus, the meter is set in the factory to a specific soil type. It has no idea about the unique qualities of your soil, such as porosity, particulate size, clay content, and amendments. That makes for unreliable readings. I think they are useful with house plants, but not with gardens.
The bamboo stake uses your senses and can adjust to any soil conditions. Look and feel are important gardening tools. (A bamboo stake will work for raised beds. But the most accurate method to prevent overwatering or underwatering your mirliton is the inexpensive stainless steel soil sampler.
Steps for Using the Bamboo Stake Soil Moisture Gauge:
- Use a standard ½-inch diameter bamboo tomato stake with no lacquers or plastic. Coverings can throw off the measurements. Make sure the stake is dry. I leave mine out all day.
- Select a place about 6 inches from the plant base. You can choose a different place each time if you are afraid of harming the roots.
- Shove the stake straight down about 6-12 inches and wait a couple of seconds, then pull it up quickly.
Read the stake:
- A relatively clean stake means soil moisture is low, and you need to water. (photo 1)
- A slightly smeared or dirty stake, particularly in the first two inches, means the plant has more than enough available moisture and needs no water. (photo 2)
- An evenly distributed number of soil particles (crumbs), the length of the stake means the plant needs no water. (photo 3)
Wipe off the stake and set it aside to dry.
Learn from the stake:
Make a mental note of what the stake looks like each time you test or take a photo. You will see that it gives you a graduated reading–each particle of soil represents the available moisture at that specific level. The bottom of the stake will show the moisture at the deepest level. You can learn from the tests: Do the test the day after you water or when it has rained so you see what good soil moisture looks like on the stake.
If you want a more precise moisture reading that uses both appearance and feel of the soil, upgrade to the metal soil sampler

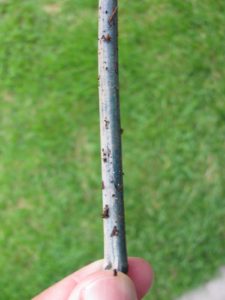
FIg. 1. Clean bamboo stake means low soil moisture and you need to water the plant.
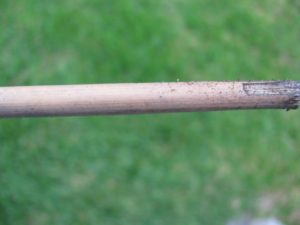
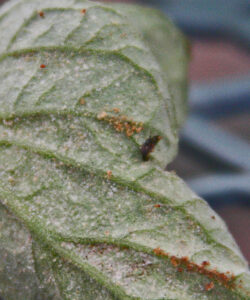
Fig. 2. A light coating of soil particles indicates good soil moisture. Note that the slightly muddy tip of the stake means the soil is getting saturated at the deepest level. No need to water.
Evenly distributed flecks (crumbs) of soil indicate good soil moisture at all root zone levels. No need to water.


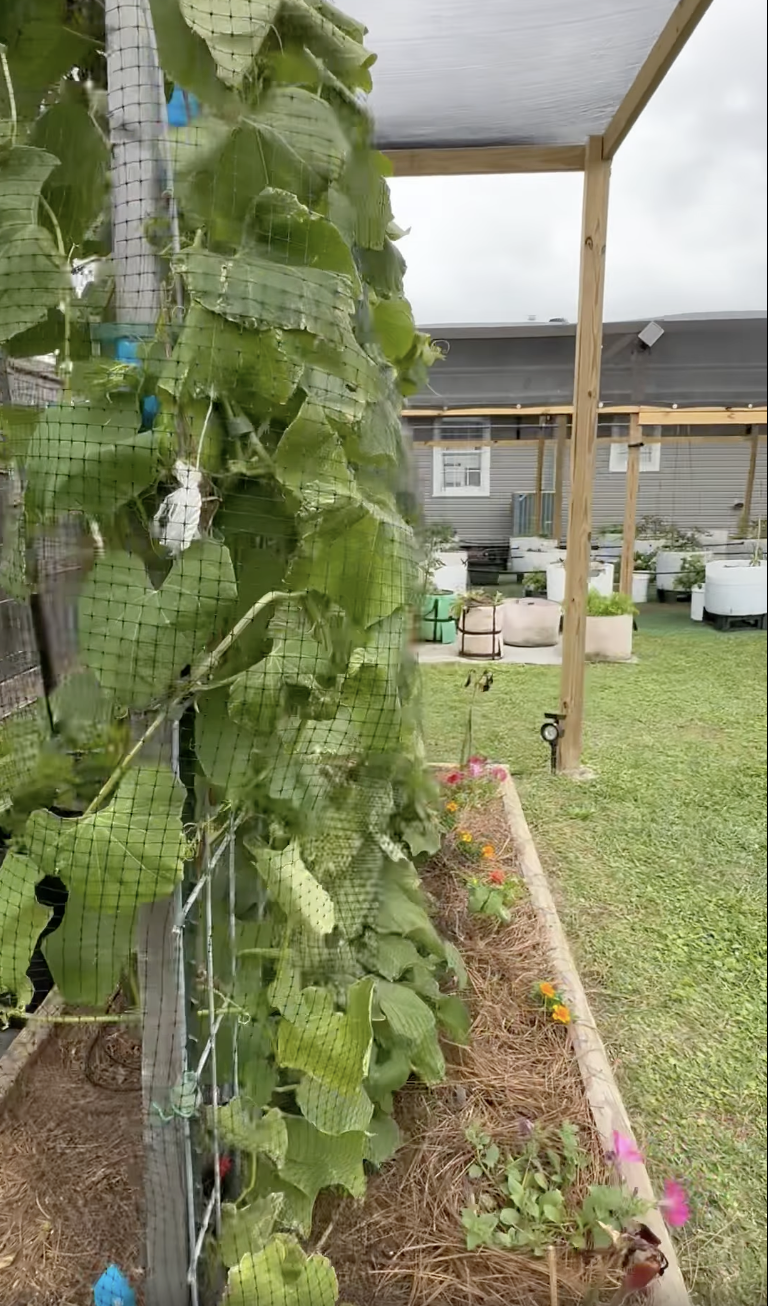


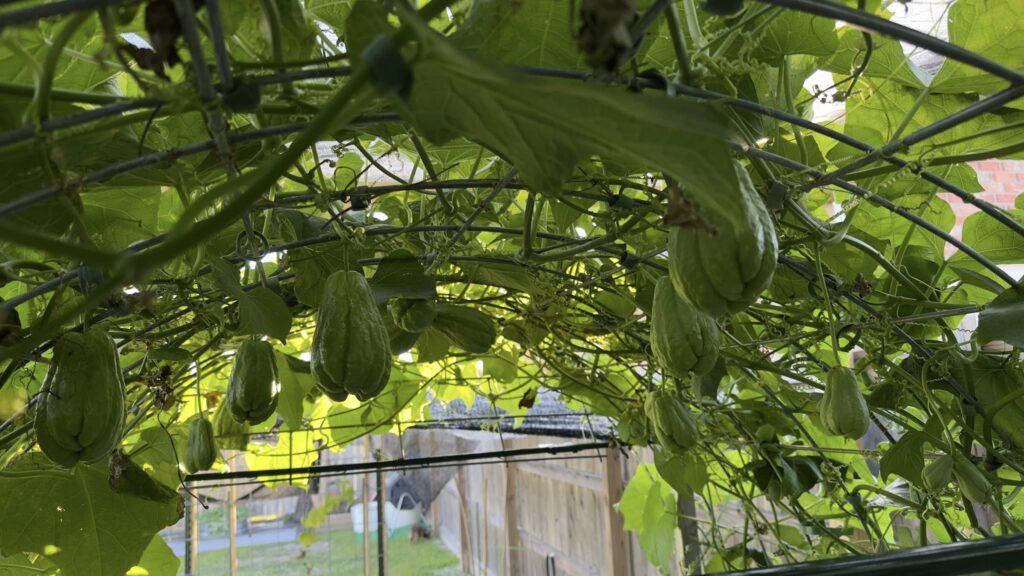
 We have a problem.