How To Grow A New Mirliton Seed
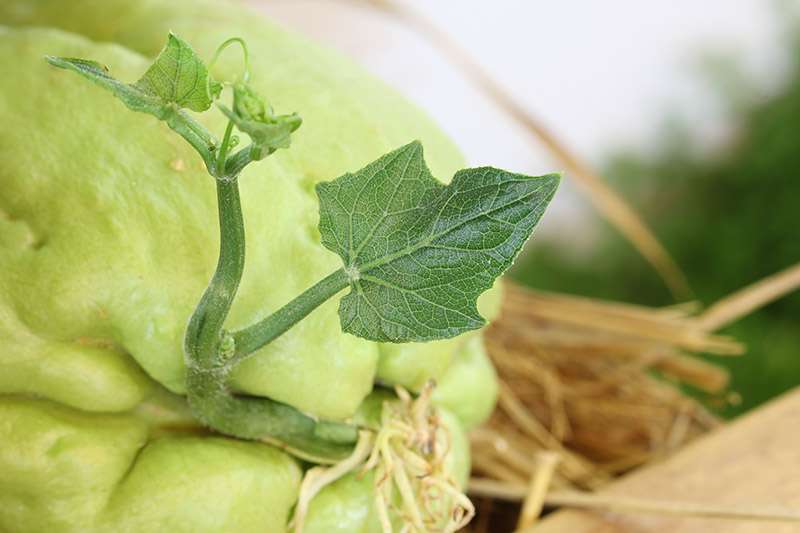
Sprouted Mirliton
You can ground-plant a fall mirliton sprout as late as October, and a spring sprout as late as June. The June planting will have to be initially shaded. See here. Outside these two windows of opportunity, you will have to plant the sprout in a 3-gallon container until you transplant it into the ground. (see below how to container and trellis it). Get the plant growing in a container as soon as possible–it will create a strong root ball for transplanting and it may even produce a spring crop!
1. Mirlitons should be sprouted (germinated) before planting. If your mirliton has not sprouted, (fig. 1) place it horizontally on top of the refrigerator– the warmest part of your house. If it does not sprout within two weeks, you should speed up the process by “incubating” the sprout (explained here)
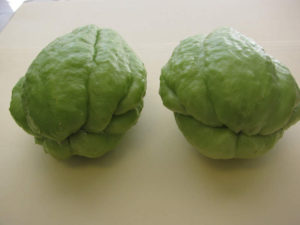
Fig. 1. Unsprouted mirlitons.
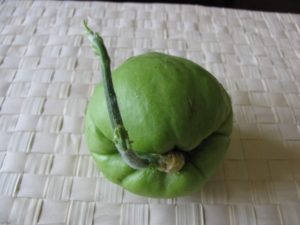
2. If your mirliton has already begun to sprout (tongue sticking out) (fig. 2), you are ready to overwinter it to help it develop a root ball.

Fig. 2. Sprout first emerges (above) and shoots extending (below). These are ready to plant.
3. Over-wintering: Once your mirliton is sprouted, you plant the whole fruit at a 45-degree angle about 2/3 of the way down with the sprouting end down in a 3-gallon container filled with good potting soil (fig. 3). Water thoroughly the first time. Mirlitons don’t need much water during the overwintering. Here’s how to use a bamboo skewer to test soil moisture. Or you lift the container slightly every few days to gauge if the soil is drying out, and only water if it is noticeably light. David Hubbell has an excellent video on overwintering a mirliton here.
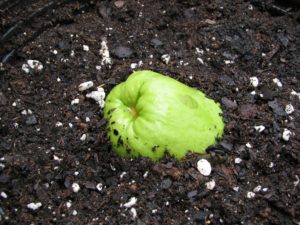
Fig. 3. Sprout planted “sprouting end down” at 45-degree angle with about 2/3 underground in a 3-gallon container.
4. Trellising: Use a 24” – 36″ tomato cage as a trellis. Let it climb the cage, but you can prune to keep it compact—a plant in a 3-gallon container can last for up to a year. When the weather permits, keep it outside in full sun and bring it in when there is the potential for a frost or freeze. The goal is to develop a good root ball. When you transplant it into the ground in the spring, the vine can be unwound from the tomato cage, and the canopy can be attached to your garden trellis (see below images).
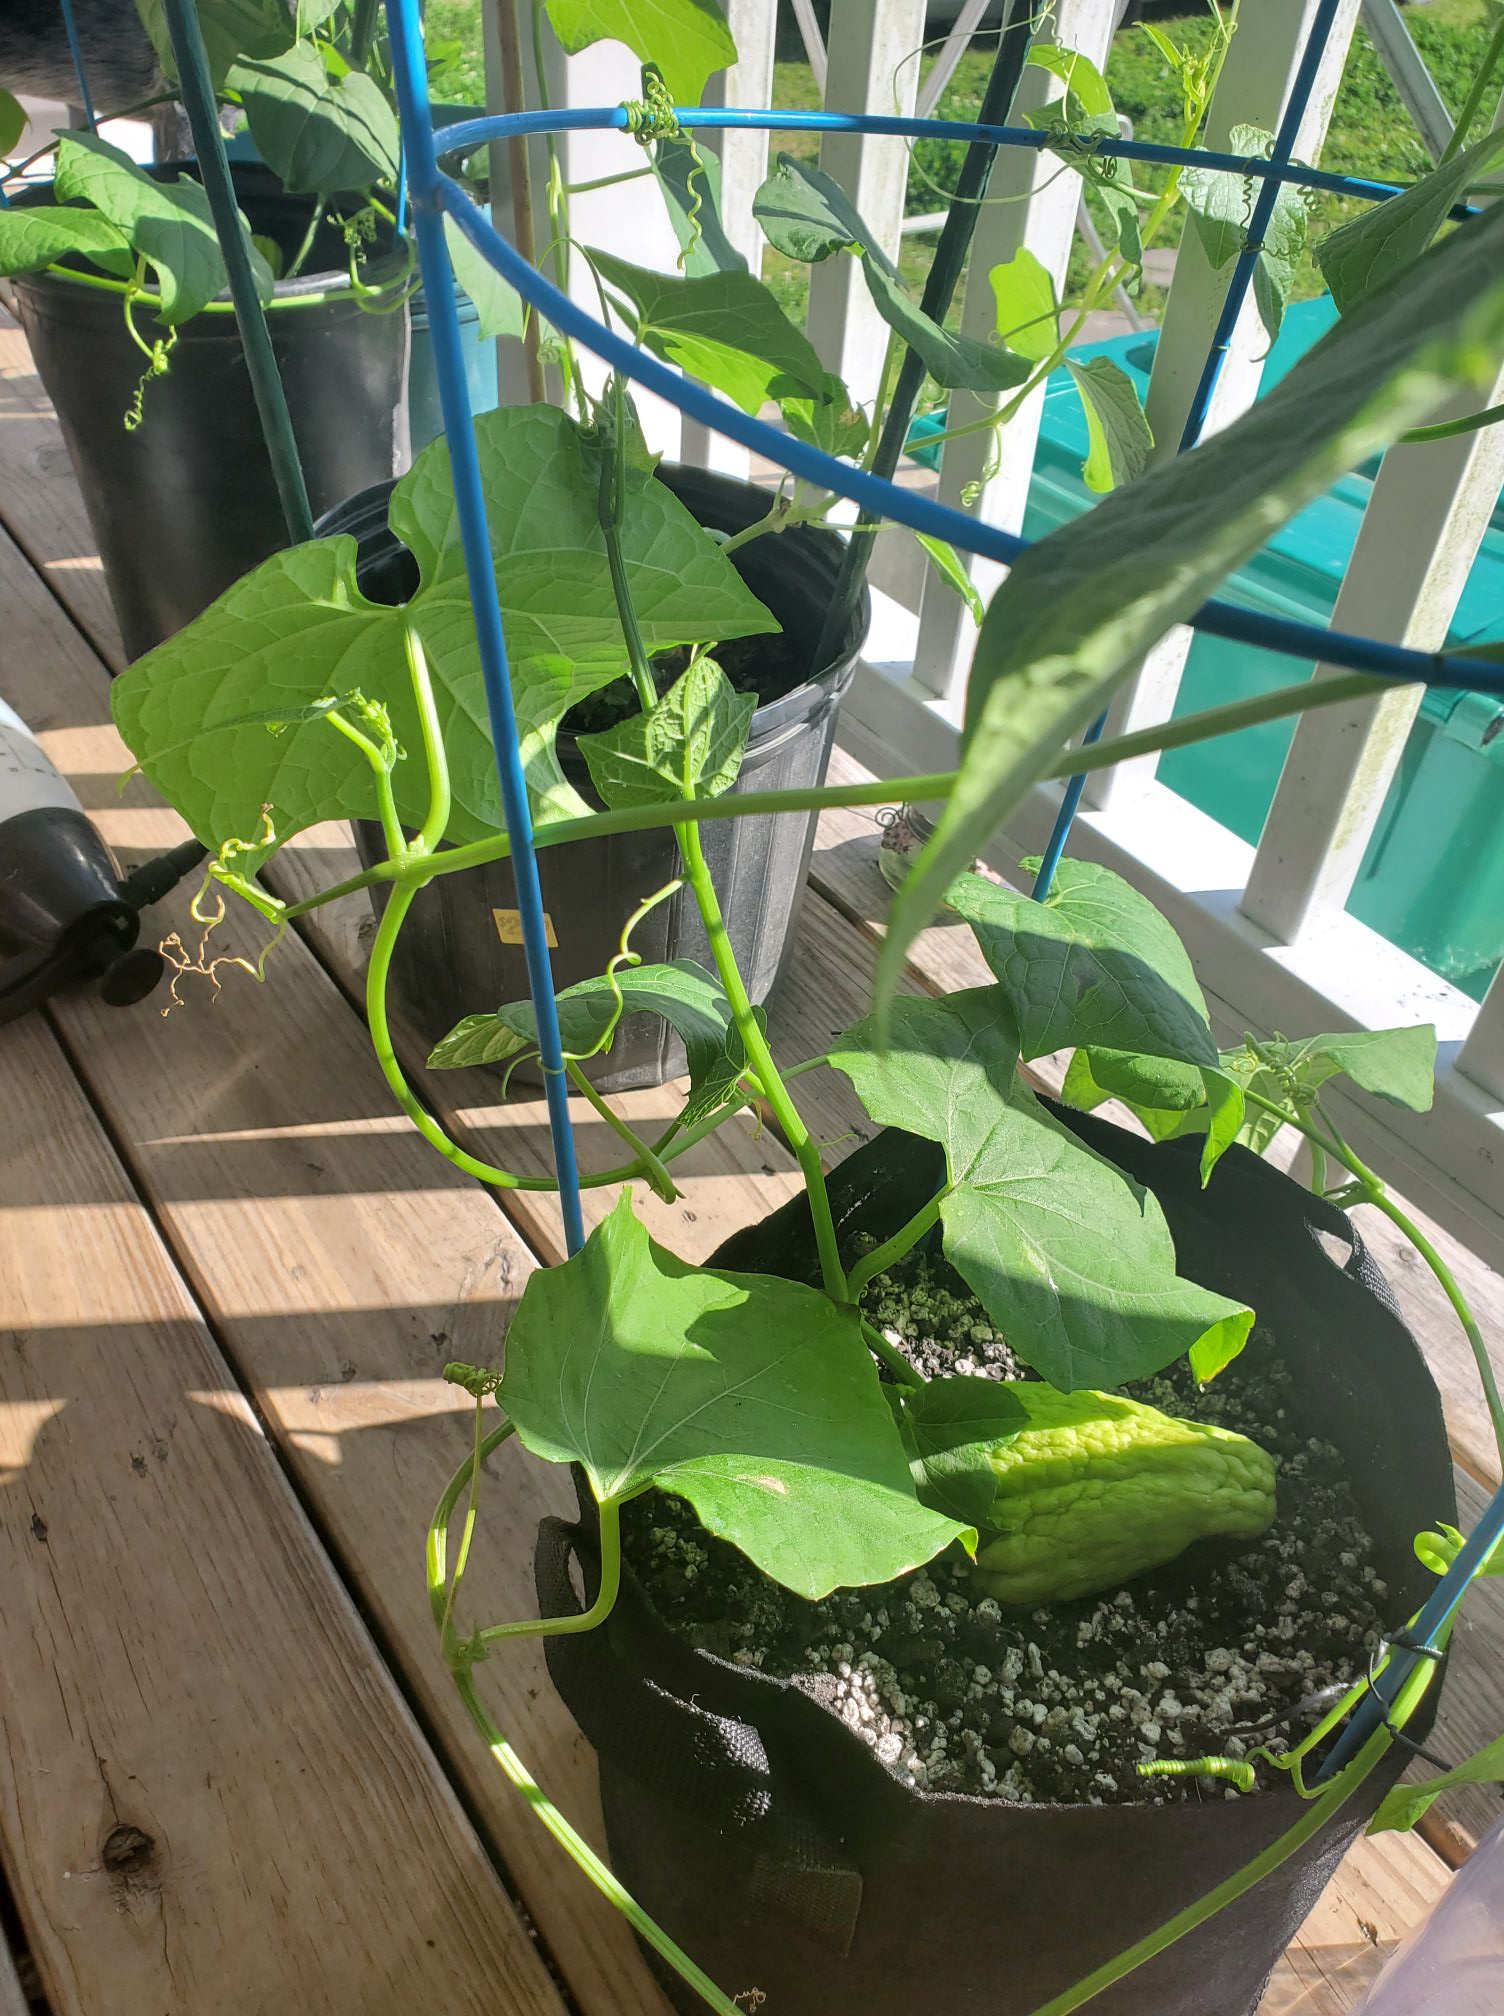
Mirlitons trellised on tomato cages.
5. Give the container plant as much sun as possible, preferably outside, and bring it in when temperatures drop below 42 °. If you have rodent problems, protect it with a wire cage:
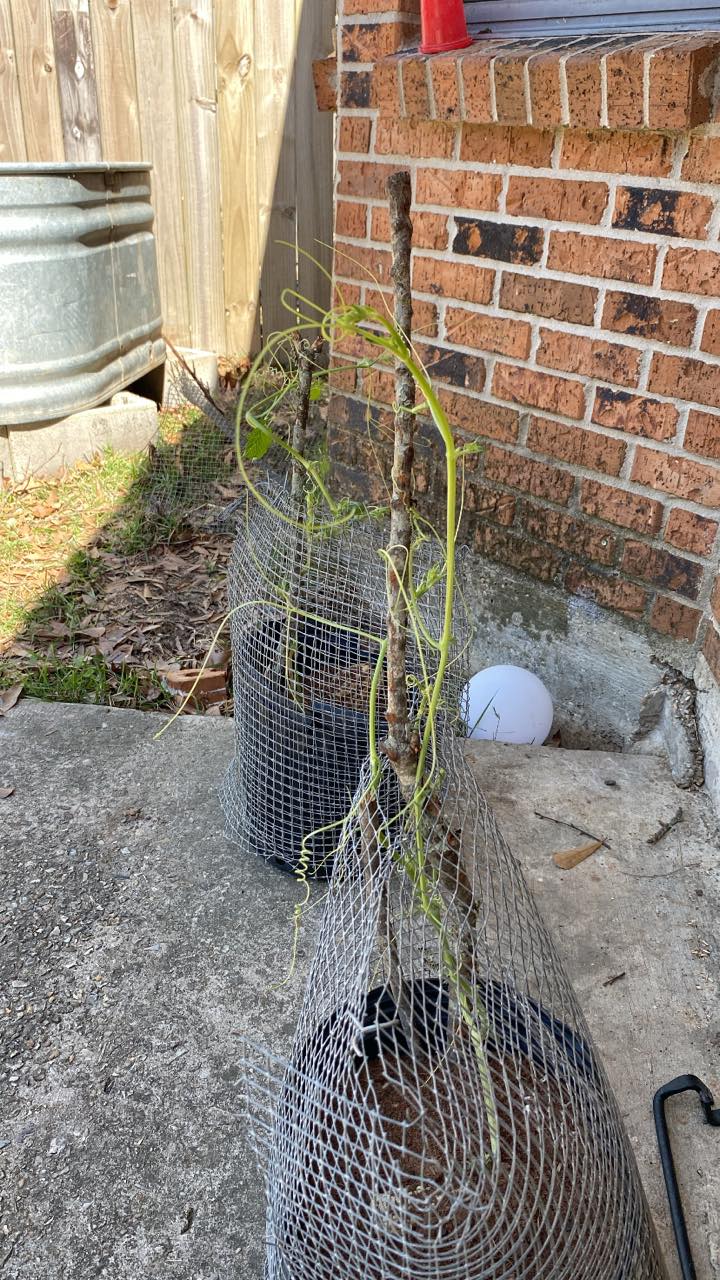
Steel wire squirrel protection. Make the mesh guard at least 3′ high to protect new growth. Wire mesh can also be used with ground plantings to prevent rodents from digging up the vine.
6. Transplanting: When the possibility of a spring frost passes, you can transplant it into the ground. Harden it off for a few days before transplanting into full sun. If your container plant is well-developed, you can even get a small spring crop! See the Quick Guide for instructions on building a grow site and general procedures for watering, fertilization, shading, and plant pests and diseases. Join the national mirliton gardeners Facebook Group to post questions and follow the progress of other Mirliton gardeners here.
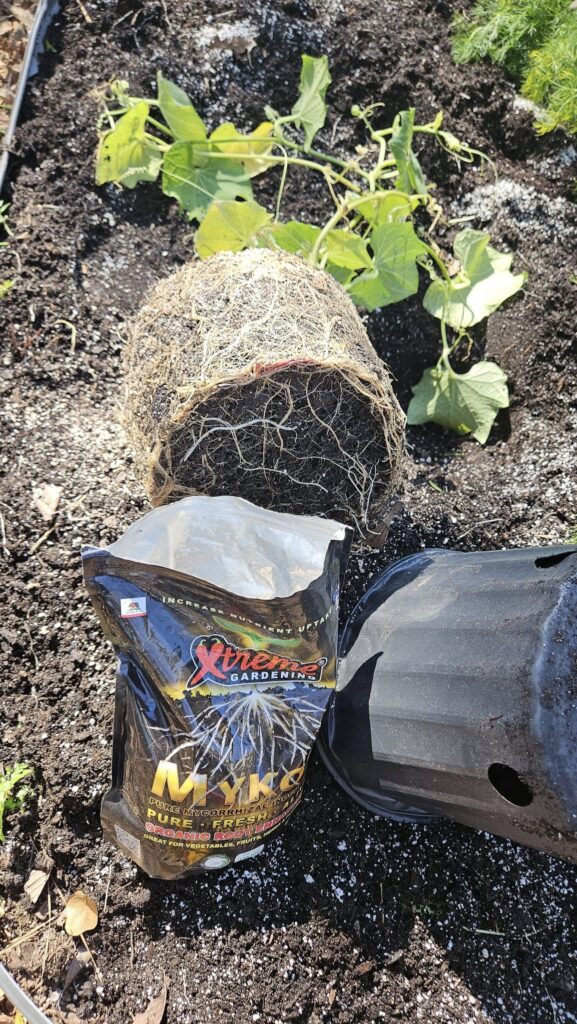
Well-developed root ball on a 3-gallon plant ready to transplant into the ground.
Recent Comments